
Top Fade Gradient Background Tutorial
Any ideas or images used in these pages
have been used entirely without profit or gain,
and therefore are free from any copywrite infringement.
I do not know who the artist is of the gingerbread boy, so cannot give proper credit.
1. Begin by opening your PSP 8 or 9 (I used 9 in this tutorial)
2. Open the tube of your choice.
3. In your materials color palette, choose a dark color from your image for your foreground color and a light
color for your background color. Also have gradient chosen.

4. Open a new transparent image sized 1024 x 350 pixels
5. Open your gradient palette by clicking in the center of the gradient color of your color palette,
and set it to the settings shown below:
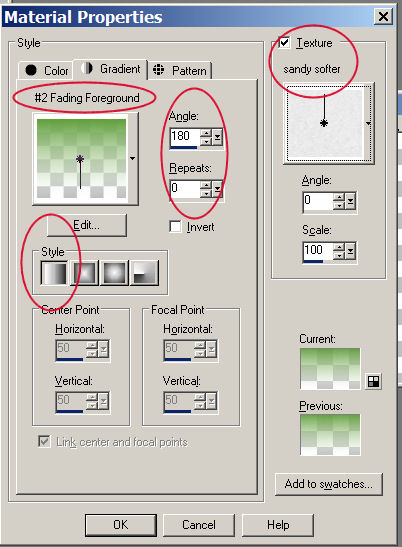
Be sure you have each of the circled settings the same as mine,
In this way, your gradient background will have white at the bottom and your
color at the top, and will also have a texture.
You can use any texture you prefer, but this is a good way to get the
texture and gradient done in one simple step.
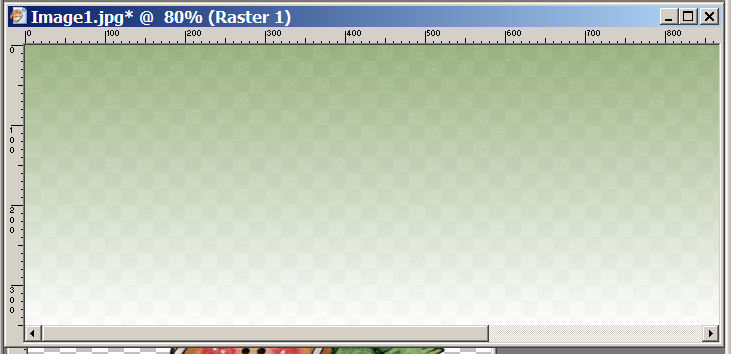
This is what mine looks like after I fill it in with the bucket tool.
6. Go to Layers/merge.....and this is what mine looks like:
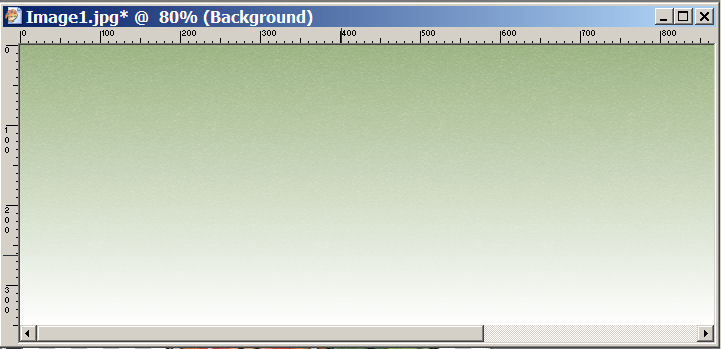
See how it graduates down to white, and also is textured at the top?
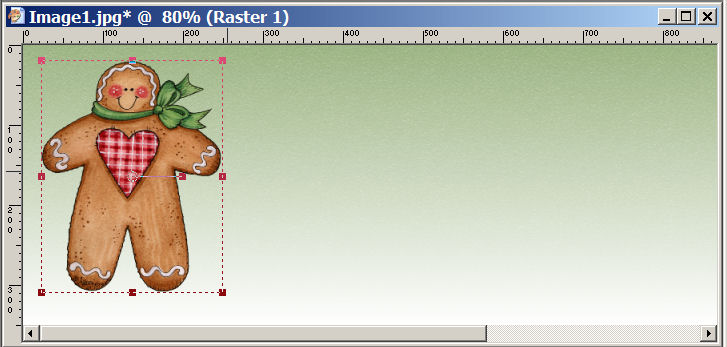
7. Click on your tube and go to edit/copy.
Then click on your blank and go to edit/paste as a new layer.
Move the tube where you want it on your blank and use the
transformation tool to resize it so it fits the way you want it to.
Here is what mine looks like at this point:
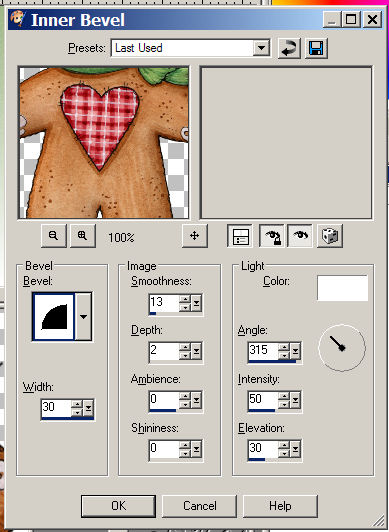
8. With the tube layer active, do an inner bevel with the following settings:
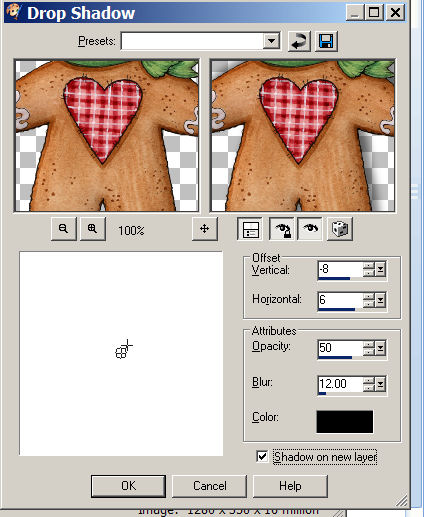
9. With the tube layer still active, do a drop shadow with the following settings:
10. Go to layers/merge all/merge.
11. Now you can add your watermark and text and finish your strip
any way you please.
12. When you go to OE to make your stationery, if you have your default
background color set to white, then your stationery should look like mine here.

Click Here To Return To My PSP Tutorials Page