DECKLED EDGED FRAME TUTORIAL
If this tutorial resembles any another tutorial in any way, it is purely coincidental.
I only created this tutorial to try to help the beginners in my CloserWalkSisters group to better understand PSP, and put together a simple stationery in OE.
You will need PSP and Eye Candy 3 to do this tutorial.
BEGINNING:
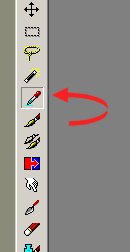
1. Open your image in psp. With your color pick tool, choose 2 colors from your image,
a light color and a darker color. Your color pick tool looks like this:
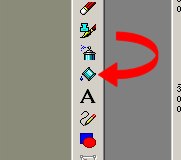
2. Go to file/new/ and make a new blank image 150 px wider and taller than your image. My image is 400 x 250 pixels, so I will make my blank image 550 x 400 pixels. Fill your image with your dark color, using your fill tool. The fill tool looks like this. You will right click to get your bottom color and left click to get your top color in your color palette.
3. Go to layers/new raster layer and click OK. This is your layer 2.
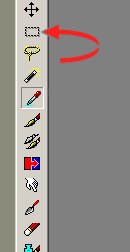
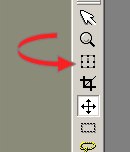
With your selection tool, which looks like this:
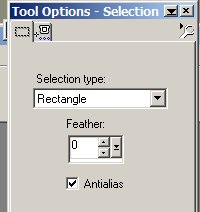
you will select a rectangle in your blank. You will need to set this tool to rectangle in your tool options palette. This is what it looks like and these are your settings:
Rectangle, feather 0, antialias checked. Draw a large selection in your blank image and center it as you draw it. Fill this selection with your lighter color, again using the fill tool.
4. Go to selections/select all,
then selections/float,
then selections/defloat,
selections/select none
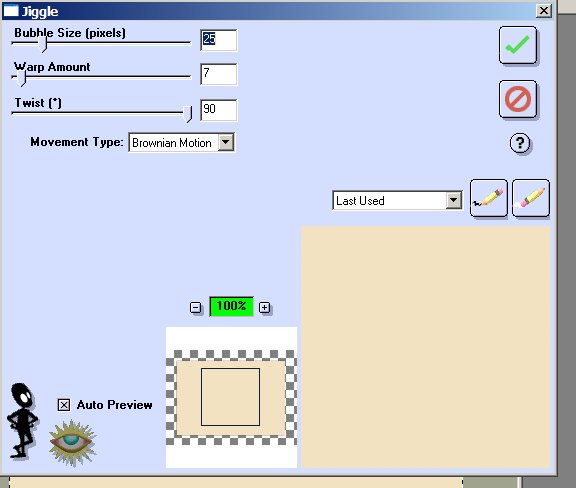
Then go to effects, plugins/eye candy 3/ jiggle with the following settings:
Go to effects/3Deffects/drop shadow, and use these settings:
Offset and Horizontal 3
Opacity 55
Blur 12
color black
Repeat the drop shadow, only changing the offset and horizontal settings to -3.
5. Click on the bar across the top of your original image (not the blank we have been working on, but the original image you opened first.....this will be the center part of our framed image) and then go to edit/copy. Go back to the blank we have been working on, and click on the top bar. Then go to edit/paste as new layer.
6. Using the deformation tool, which looks like this:
Size the image onto the lighter background by clicking on the corners and
'dragging' them to fit the way you want them to. Make sure they are centered
on your blank. Here is what mine looks like:
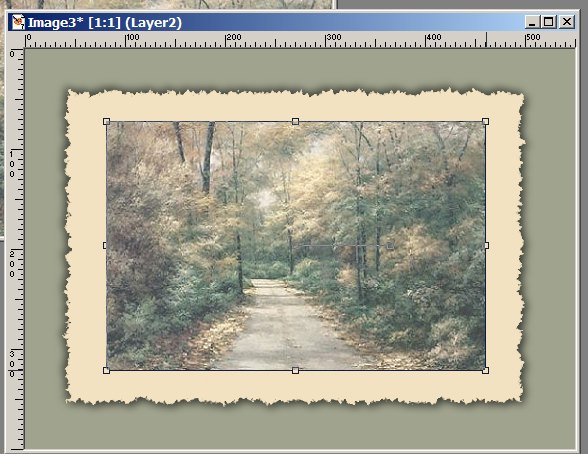
Double click in the center of the image to deactivage the deformation tool.
7. Go to selections/select all
selections/float/
selections/defloat
selections/select none
Then go to effects/plugins/eye candy 3/ jiggle, and apply the same settings
as we used before in step 4.
Then repeat the shadows that we did in step 4.
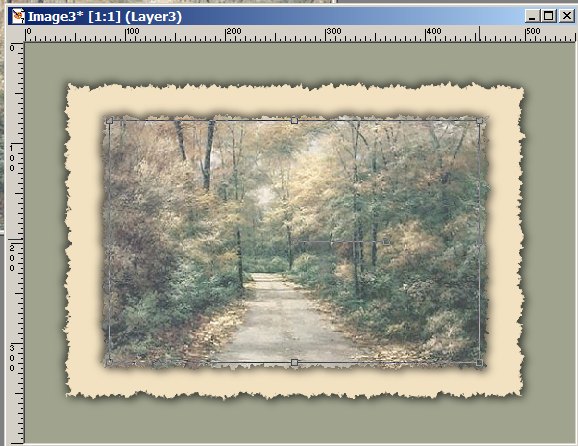
8. Your image will be distorted looking.......... so go back to the original image and again
go to edit/copy
Click on the new image that we have been working on and go to edit/paste as new layer.
Again using the deformation tool, 'stretch or shrink' this layer to fit just inside the image beneath it, so the deckle edges and shadows will show.
Go to layers/merge/merge all (flatten)
Resize to 300 px wide, and go to effects/sharpen.
9. Go to file/new and create a new image sized 1024 wide x the height of the image we just created + 50 pixels. (mine is 1024 x 268)
Using your fill tool, fill this blank with your dark color.
10. Edit/copy your deckled framed image that we have just completed. Paste it as a new
layer onto your 1024 blank image, and move it to the left edge, centering it between
the top and the bottom edges.
11. Go to layers/ merge/merge all (flatten) and you are ready to take your blank to OE and create your stationery.
If you want your stationery to scroll, paste the following code into your source.
Click here in your code:
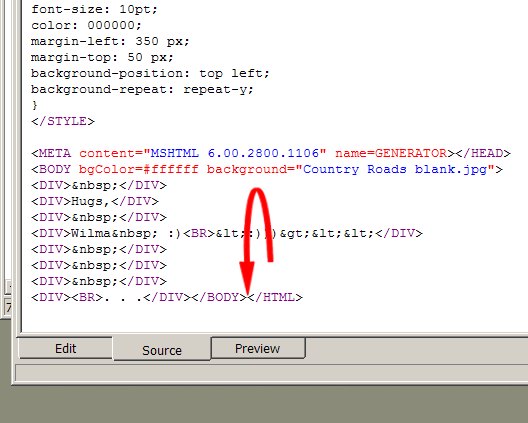
and then hit enter 2 or 3 times so that there is a space.
In that space, paste the following code:
<DIV id=imageholder
style="LEFT: 0px; POSITION: absolute; TOP: 0px; Z-INDEX: -1">
<SCRIPT language=VBScript>
placement=0
nail=0
for temp=0 to 9
document.write "<img id=pics"&temp&" src><br>"
next
pics0.src=document.body.background
pics1.src=document.body.background
pics2.src=document.body.background
pics3.src=document.body.background
pics4.src=document.body.background
pics5.src=document.body.background
pics6.src=document.body.background
pics7.src=document.body.background
pics8.src=document.body.background
pics9.src=document.body.background
document.body.background=" "
window.status="Click the image to Stop or Restart the scroll"
sub scroll()
if nail=1 then
exit sub
end if
if placement < pics0.height then
setTimeout "move", 1
else
placement=0
setTimeout "move", 1
end if
end sub
sub move()
imageholder.style.top=-placement
placement=placement+1
setTimeout "scroll", 1
end sub
sub imageholder_onclick()
if nail=0 then
nail=1
elseif nail=1 then
nail=0
end if
scroll()
end sub
scroll()
</SCRIPT>
12. Go to format/background/sound and scroll to your music and apply the midi of your choice.
13. If you want your scrollbars colored, you can use the CWS program, which I will send to anyone who doesn't have it. :)
That's it. I hope you enjoyed this tutorial. :)
~~~~~~~~~~~~~~~~~~~~~~~~~~~~~~~~~~~